Assign Embroidery Design to WooCommerce Categories
Assign Designs to Categories

You can assign an embroidery design to multiple products using a category assignment as follows:
- From the dropdown select the WooCommerce category name
- In the second dropdown select “All Products”
- Then click “See Assigned” (if this is first assignment then no designs will be visible)
Assign Designs
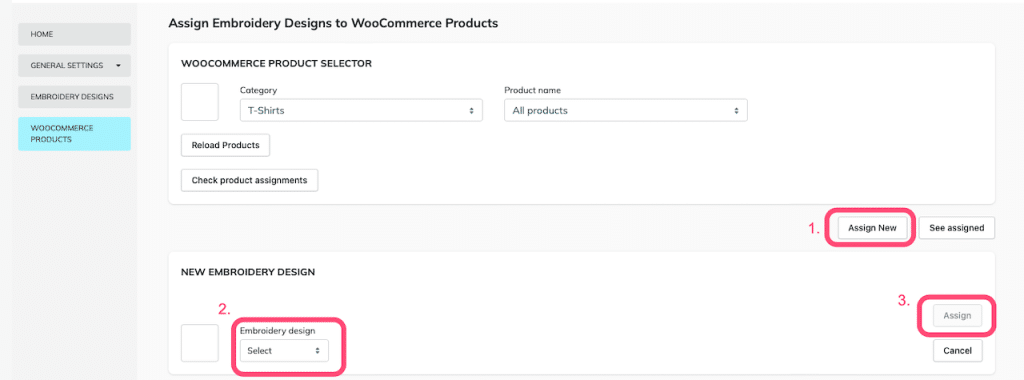
- Then click “Assign New”
- Then select the Embroidery Design
- Next click “Assign”
- Repeat until you have your desired set of Embroidery Design’s
Edit Design Settings
- For each assigned design you need to Edit the settings – the mandatory settings as follows:
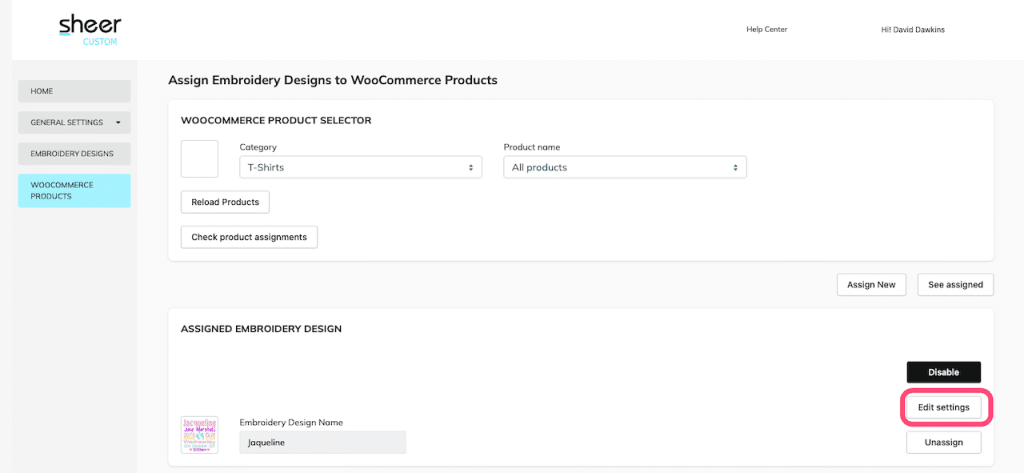
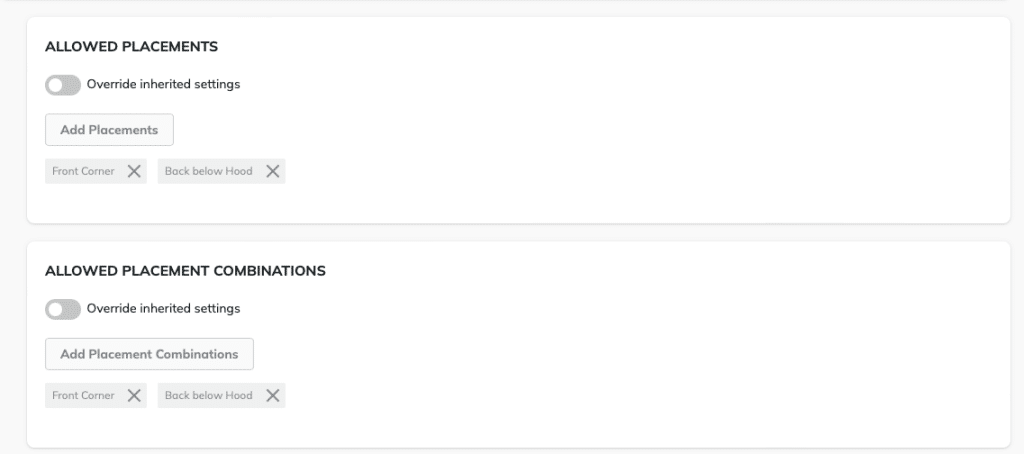
- Set the Allowed Placements & Placement Combinations
- Set the Size and Position of the Embroidery Customization Preview
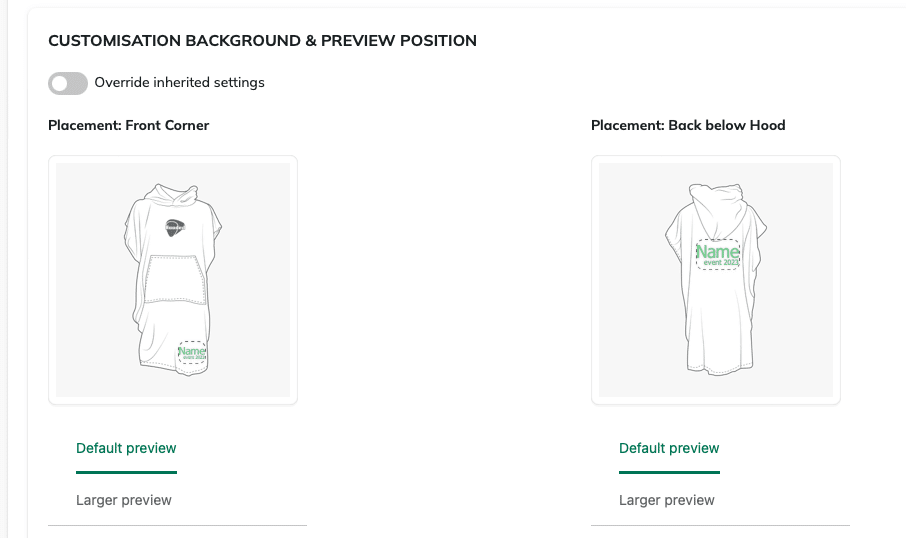
Adjust the size and position of the embroidery on the background by first moving, then clicking and resizing the corner of the dotted-line box. The position will be the same on all products in the category
- Set the Customization Background & Preview Position
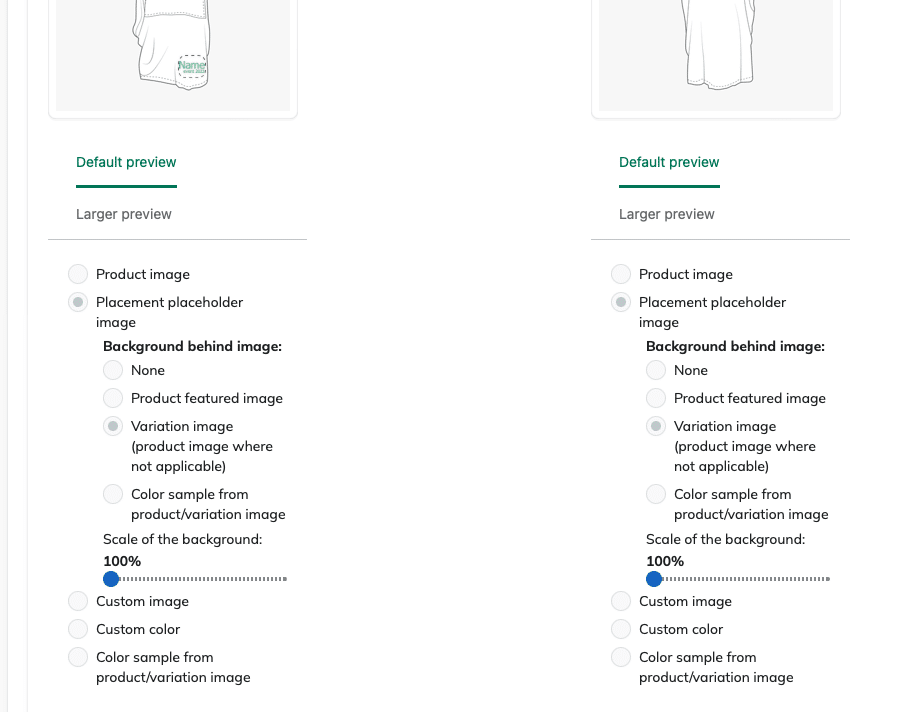
- There are several options for the background of the preview:
- Product image
- Placement placeholder image
- Background behind image:
- None
- Product featured image
- Variation image (product image where not applicable)
- Color sample from product/variation image (the background can be scaled for patterns)
- Custom image (you can upload your preferred background image)
- Custom color (select a colour or use a Hex Code)
- Color sample from product / variation image
It is possible to create a Placement placeholder image (PNG) with a transparent center* to expose the product or variation image in the transparent center of the image. Alternatively it is also possible to colour sample from the product or variation image in the transparent center of the image. This is useful if your images are in inconsistent formats.
*you will need design software or need to ask a designer to create Placement Placeholder image with a transparent center